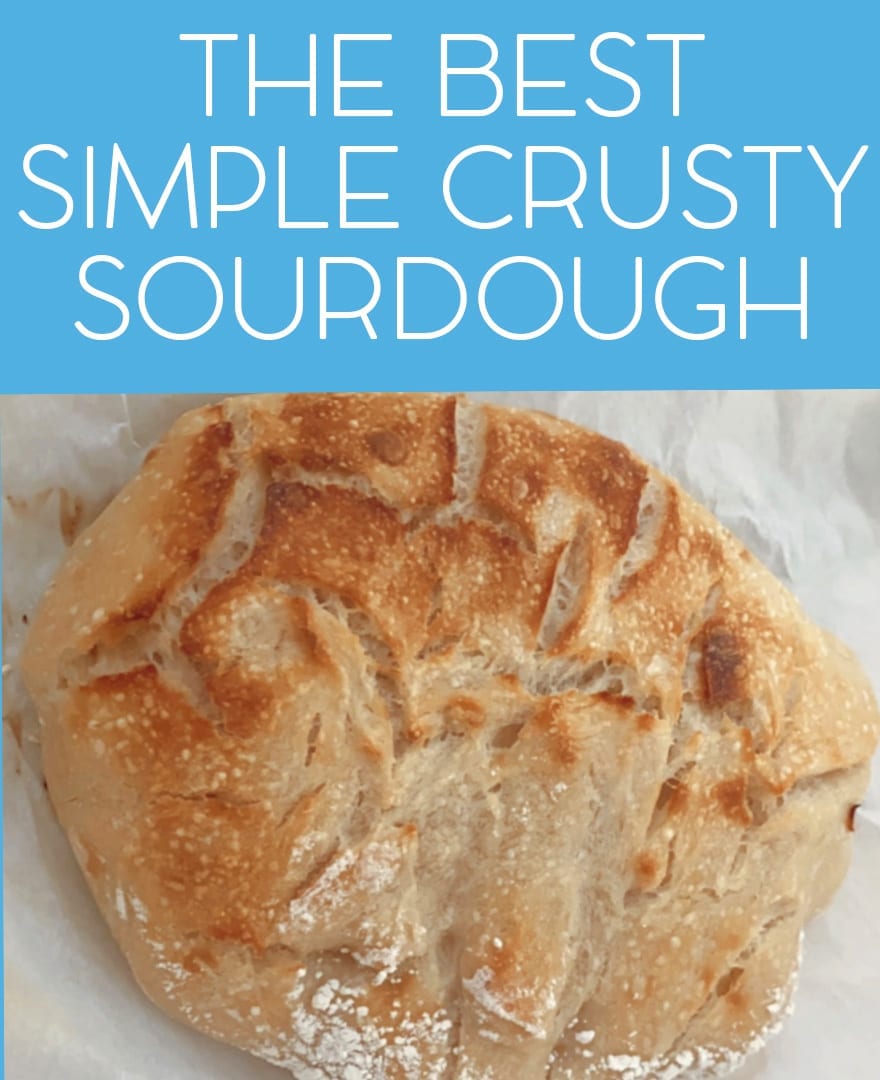
Simple DELICIOUS Crusty Sourdough Bread Recipe for Beginners – my first time making sourdough bread
I’ve been cooking a ton in quarantine, and have loved sharing all my favorite recipes with you guys on the blog. It’s no secret that I LOVE to cook, and it’s actually the #1 thing I miss when I’m traveling constantly around the world – so I’ve kinda been loving this nesting ‘break’ after being on the road 24/7/365 for the past few years as a travel blogger to get to make and share some of my favorite recipes.
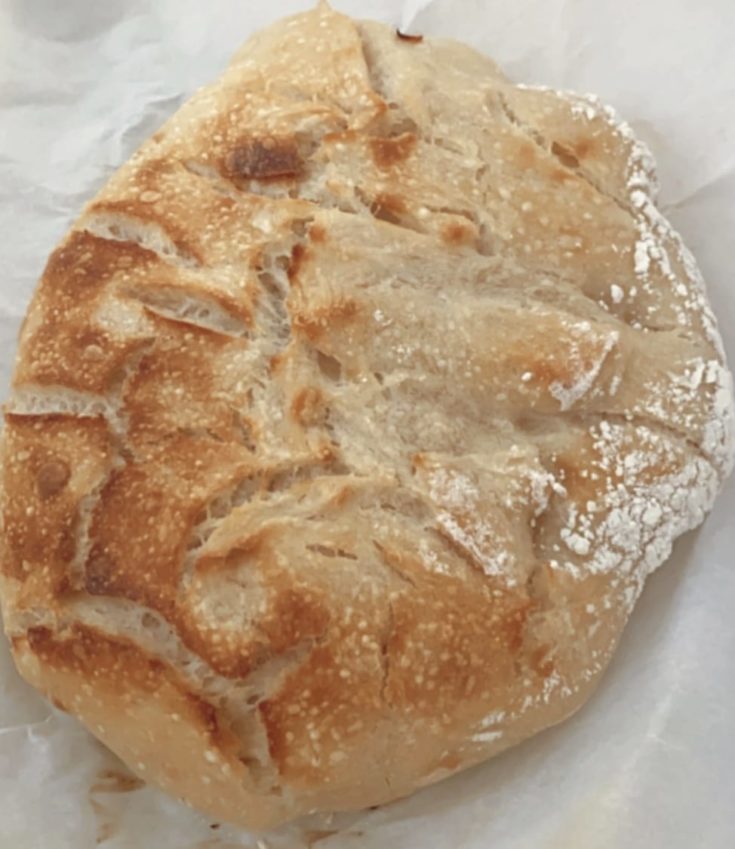
But there was one thing that I’ve never made before that always intimidated me. And it happens to be one of my absolute favorite foods in the world – crusty, delicious sourdough bread. No matter where I am in the world, I ALWAYS look for a decent bakery that makes good sourdough bread – and it is SO hard to find. I was born and raised in San Francisco, so my sourdough tastes are kinda bougie ( I know SHOCKER).
San Francisco sourdough is just on another level than anywhere else – and I never understood why until I realized WHAT GOES INTO MAKING ONE LOAF OF SOURDOUGH BREAD. Sourdough breadmaking is truly an art. But you really only need three things to make an incredible loaf of sourdough:
1. Flour
2. Water
3. Patience
When looking for simple sourdough recipes for beginners online, I was so intimidated by the articles I was coming across. 10 page posts on ALL of these crazy steps that you have to follow EXACTLY right to get one loaf of bread. It all seemed SO complicated, and, honestly, chemistry is NOT my thing. I’m more of a creative cook than a methodical recipe-follower, throwing whatever in the pan and seeing what tastes good. But I was determined to try the more scientific process of making sourdough and I’m SO glad I did. My sourdough starter is now my baby, and OH MY GOD YOU GUYS – this homemade sourdough recipe is SO. FREAKING. GOOD.
So I wanted to write this article to simplify sourdough breadmaking, because, yes, it is hard, and yes, it does take a lot of time, but no we don’t need to use jargon words like ‘leaven’ and ‘autolyse’ to write a blog post on sourdough bread. If you want to study breadmaking and become an expert, AMAZING. Do it. I recommend this book by one of my favorite bakeries in San Francisco. They’re the experts. But if you want to try sourdough bread-making and you’re intimidated by how scary everywhere makes it seem, this blog post is for you.
Sourdough, like I said before, is an ART, which means that anyone can do it and everyone’s bread will have their own creative spin to it, even if they follow all the exact directions. Every starter is a little different (because of the yeast in that particular environment you’re in, the temperature, the water quality, etc., which makes every sourdough loaf a little different.
SIMPLIFIED SOURDOUGH
What is sourdough? Why is it so delicious? Basically what makes sourdough sour (and so delicious) is it uses only natural yeast, rather than artificial added yeast like most breads. There is naturally yeast everywhere, in our air, in our kitchens, in our environments, so it’s not hard for your starter to become ‘active’ with this natural yeast, it just takes more time than if you add yeast to a dough and call it a day. Sourdough is also a healthier bread than other breads because it’s more nutritious and easier to digest.
What is a sourdough starter?
Think of a sourdough starter as your active ingredient. It’s a jar of natural yeast and good bacteria that will go into making sourdough bread. You need it in every loaf you make, and a good sourdough starter can last forever, if it’s maintained. In fact, some of the top sourdough breadmakers have been using the same sourdough starter for DECADES. It is their BABY.
The only thing is you DO need to take care of your starter – think of it like a little house plant you have to water. I go through the steps of creating a stater below, but once you’ve gone 7 days of feeding your starter every day, you can move it to the fridge and only feed it once a week. And I’ve heard of people forgetting and doing it after 2 weeks and it’s still alive, so don’t worry too much. But that being said, sourdough is a high maintenance chick, you’re gonna need to give her what she wants or she won’t give you what you want – a perfect loaf.
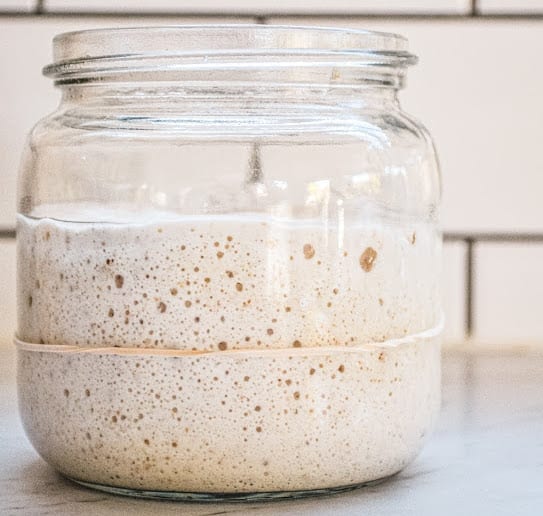
Photo from homegrownhappiness – who has more details on the perfect sourdough starter recipe here.
What flour should I use for making my first sourdough starter and what flour should I use to make a loaf of sourdough bread?
I used all-purpose flour to create the sourdough starter, and then I switched to bread flour the night before baking for the final feeding, and then I used the bread flour in the actual bread dough. This is the flour I used and it was AMAZING.
What else you need to know before starting on your sourdough making journey
It really is a JOURNEY. You’re going to need some patience. You’re going to wonder if it’s working, all the time. You might want to give up. But don’t!!!! IT IS SO WORTH IT IN THE END!!! Have fun with it.
Also, make sure you’re using PURIFIED water (somewhat cold, lower than room temp)
A lot of recipes will say you HAVE to weigh your ingredients. If you have a scale, that’s awesome, I included weights in this recipe, but if you don’t (like me) use the cup measurements. They work just fine.
The night before baking, you need to let the dough rest in the fridge overnight (12-15 hours)
Use wet hands to handle your dough
“Scoring” the bread just means taking a knife and cutting the top so that you get those nice ‘scores’ that you see on loaves. You can keep it simple, or get crazy like this video:
(they use this tool to do it, I just used a knife for my simplified sourdough bread) 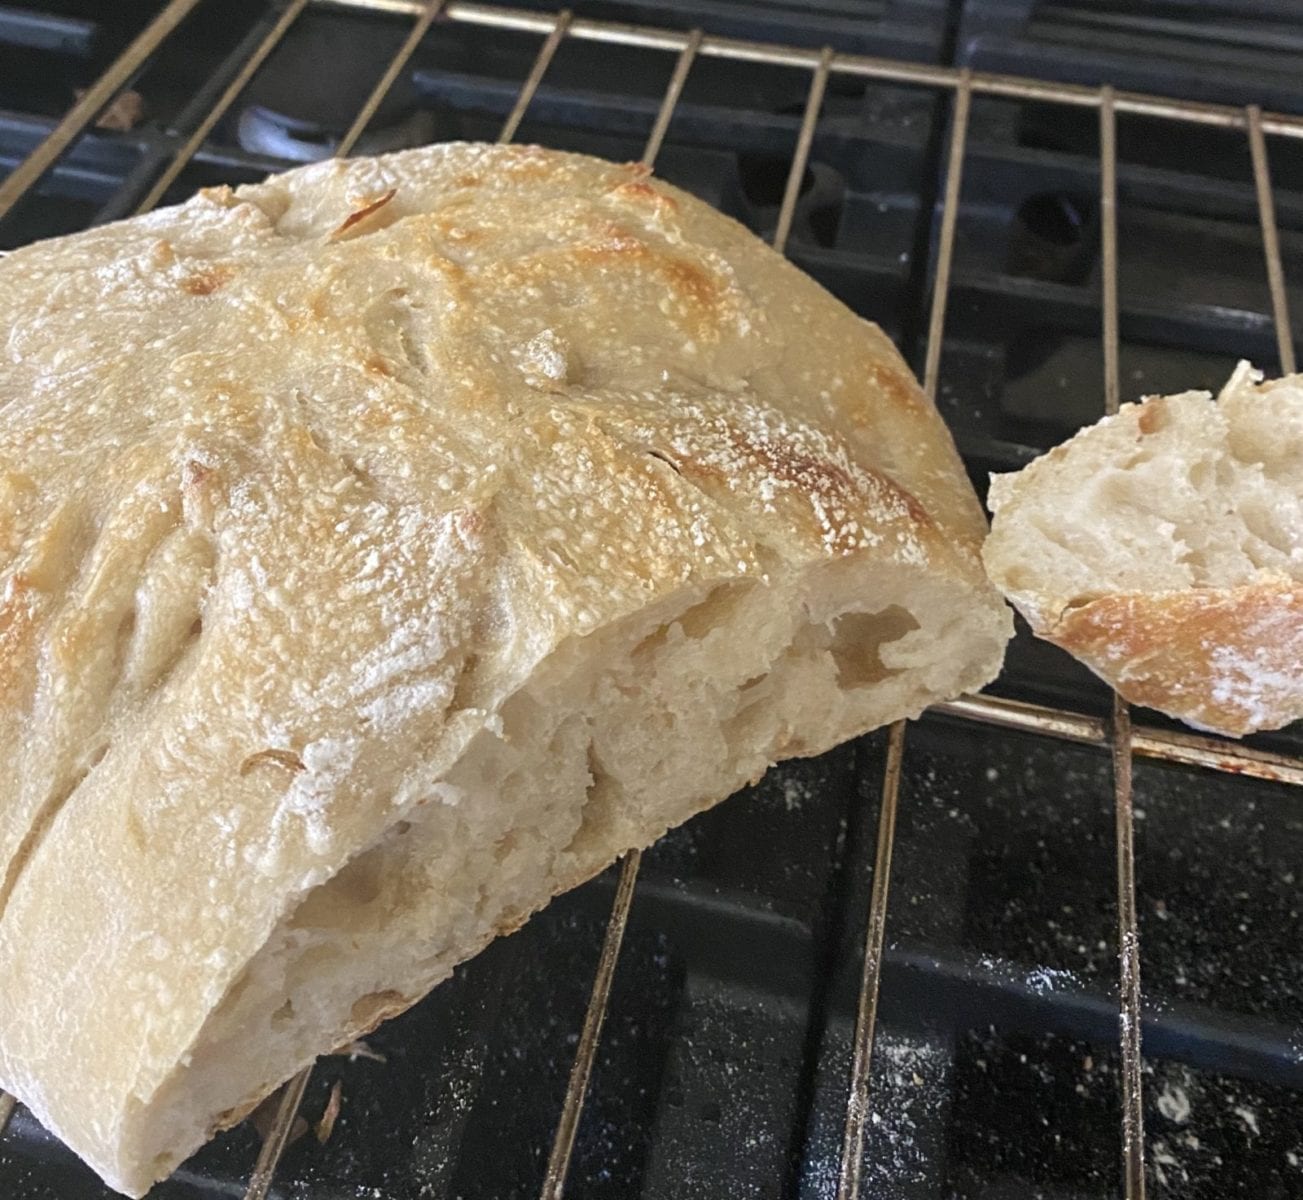
Simple Sourdough Bread & Starter Recipe
Simple DELICIOUS sourdough bread and starter recipe for beginners.
Ingredients
- FOR THE STARTER:
- 1/2 cup water, 1 cup all-purpose flour
- FOR THE DOUGH:
- 525 grams cold filtered water, 2.22 Cups
- 20 grams salt OR 1 Tablespoon max - I used kosher salt, sea salt works too.
- 200 grams very active starter - make sure 1 tsp of it floats , 1 + Cup
- 700 grams bread flour (or all purpose flour), 5 1/2 Cups
Instructions
For the Starter:
On day 1 of starting your sourdough starter, mix 1/2 cup cold, filtered water with 1 cup all-purpose flour, stir. It should be a peanut butter like consistency. Put it in a mason jar at room temperature and let sit for 24 hours, top sealed.
Day 2, at the same time you created your starter the day before, remove all but half of the starter and 'feed' your starter with 1/2 cup cold, filtered water and 1 cup all-purpose flour.
Days 3-7 repeat the same process as day 2, feeding your starter.
Your starter is active when 1 tsp of it floats in water.
For the dough:
Pour the water into a large bowl.
Add the starter to the water and mix thoroughly with a whisk or by hand until the floating cloud of starter is mixed completely into the water.
Add the flour to the leavened water and mix with the dough bowl scraper or other spatula. At the end use wet hands to form a shaggy dough ball.
Let it rest for 1 hour in a bowl
After one hour, add the salt to the bread dough. Use your hands to pinch and stretch the dough until the salt is mixed into the dough.
Using WET HANDS, pull the dough from under the dough ball up and stretch it gently as you pull it over the dough ball top. Repeat this process until the dough is stretched and pulled from each quarter of the bowl.
Over the next 2 hours, repeat this every 30 minutes. The dough will change from a slimy ropy mass to a billowy dough with delicious air pockets that go on to help the structure of the bread. Let it be airy.
Allow the dough to rise in the bowl at room temperature an hour or so until it rises a bit.
Cover the bowl of dough with a plastic bag and set it in the fridge for 12 to 15 hours (Or overnight).
The next morning:
Remove the dough from your fridge and let it sit on the counter in the bowl for two hours or until the dough reaches room temperature.
On a clean unfloured counter pour out the dough into a large mass. Flour the top of the dough evenly.
Form 2 dough balls like this.
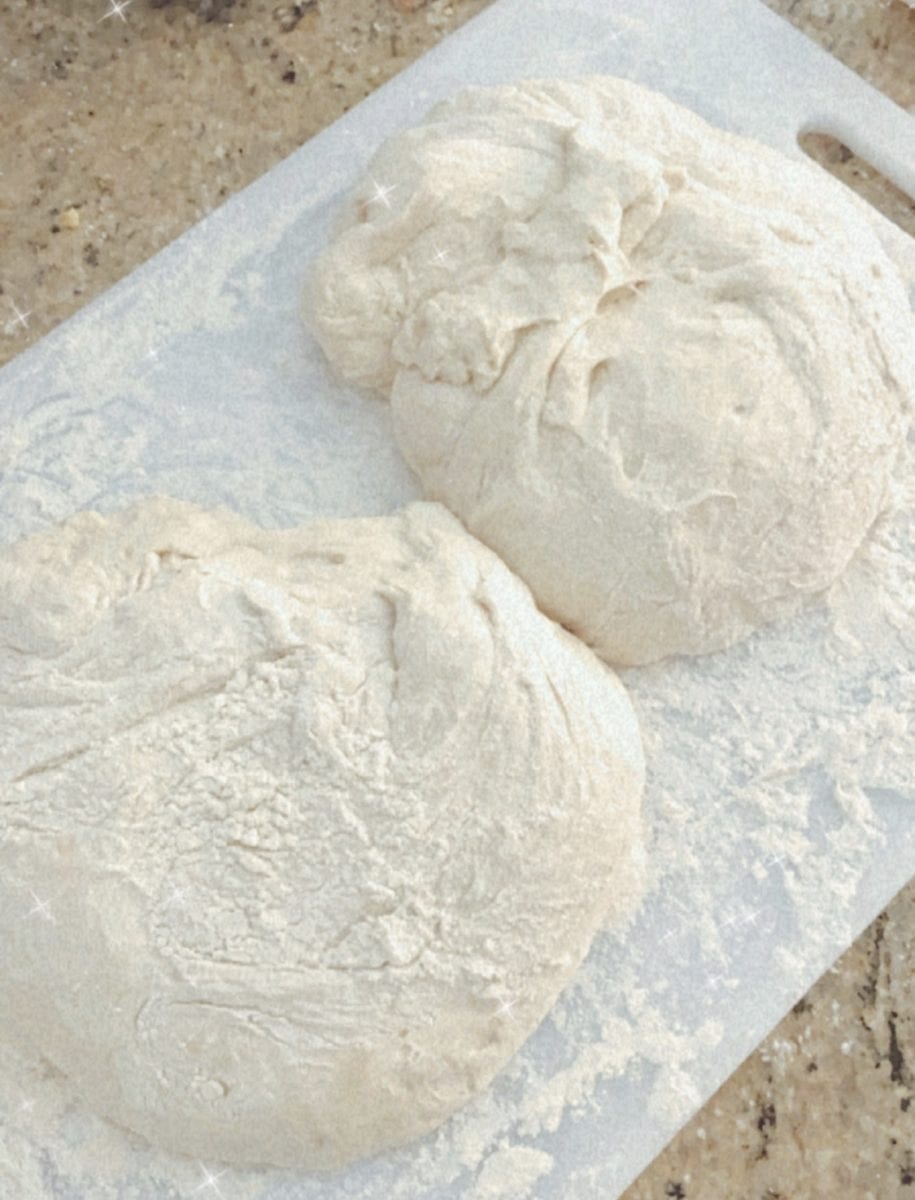
Let the dough balls rest for 20 to 30 minutes. They will spread out a bit but if they do too much, reshape them a little thicker.
Rise in the fridge 2 to four hours.
Sourdough baking instructions:
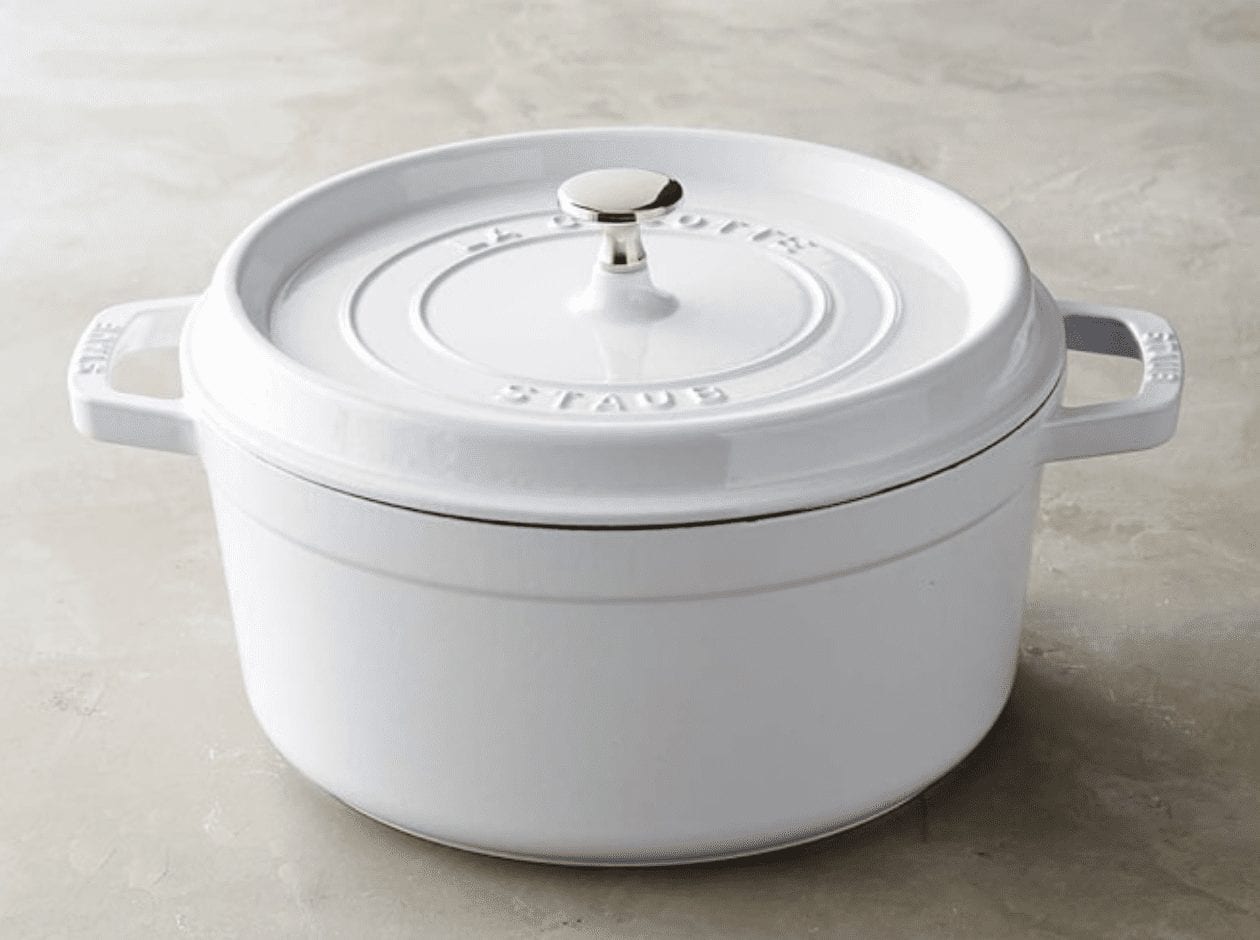
You can use a dutch oven (preferred) or any enclosed stock pot. It must be enclosed (this creates steam, which creates crust).
Set your dutch oven in the lower third of oven. PREHEAT oven to 450 degrees F with the dutch oven in it.
Remove one dough ball from the fridge. Place the dough in your preheated dutch oven, with a lining of parchment paper.
Score the loaf of bread with a knife or a lame if you have one. Scoring helps the dough rise better, and creates yummy crunchy crust.
Place the scored dough into your VERY hot dutch oven, with the lid on.
Bake 30 minutes at 450 degrees.
After 30 minutes, remove the lid. Steam should come out. Hopefully the bread is a light golden color with a nice rise and set crust. Bake an additional 9-10 minutes UNCOVERED.
Remove from the dutch oven. Place the bread loaf on a cooling rack and let it cool for 30 minutes before cutting into it! (It will be hard to resist, but this is important!!)
Repeat the process with the other loaf.
Enjoy!!!!!
Notes
- Make sure you're using PURIFIED water (somewhat cold, lower than room temp)
- Store your starter around 72-80 degrees, it cannot get too cold in your house or it won't be good for your starter.
- A lot of recipes will say you HAVE to weigh your ingredients. If you have a scale, that's awesome, I included weights in this recipe, but if you don't (like me) use the cup measurements. They work just fine.
- The night before baking, you need to let the dough rest in the fridge overnight (12-15 hours)
- Use wet hands to handle your dough.
- Use a dutch oven like this or enclosed stock pot to create steam while cooking that creates the yummy crust.
- "Scoring" the bread just means taking a knife and cutting the top so that you get those nice 'scores' that you see on loaves. If you want a real professional scoring tool, the pros use this.
Recommended Products
As a member of affiliate programs, I earn a small commission off of purchases from my links that help me continue to run this blog.

Check out these other blog posts:
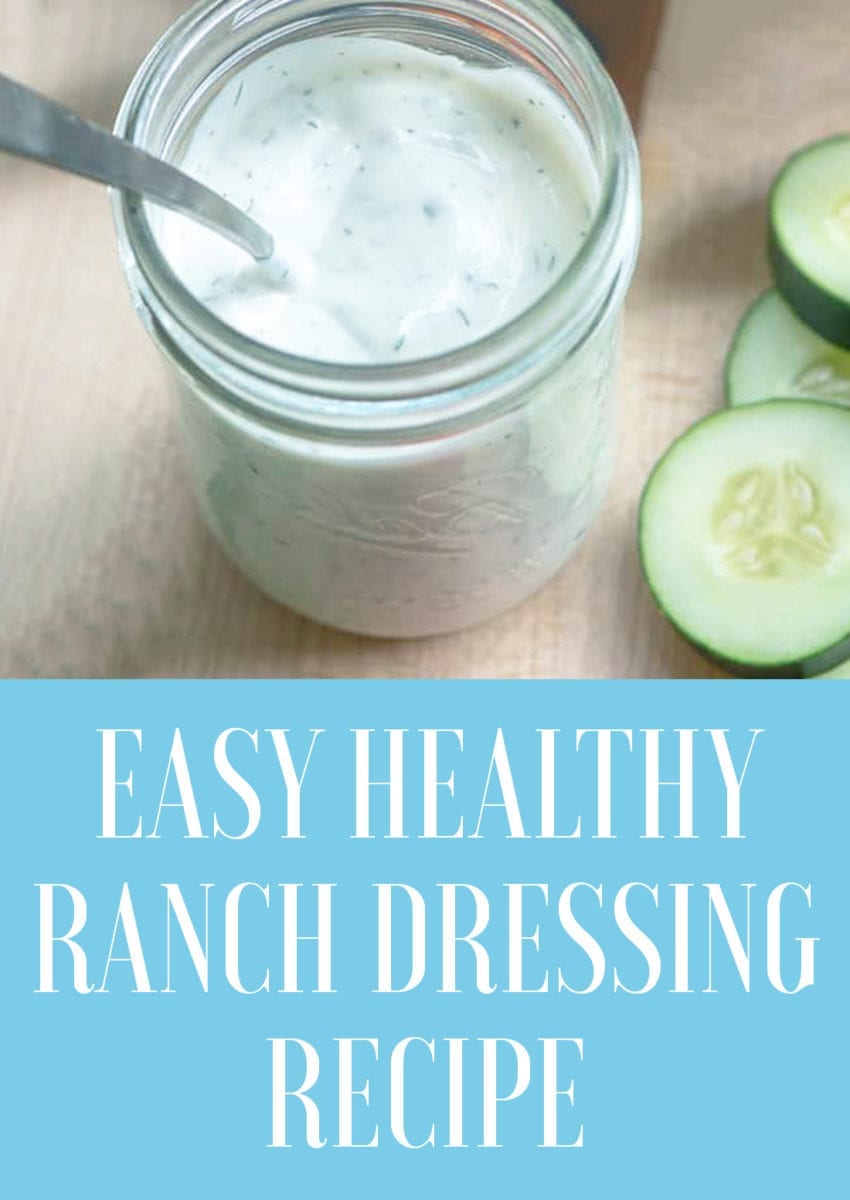
The best greek yogurt ranch dressing


Slow cooked short rib tacos and spicy habanero margarita recipe

Salsa verde and oven baked healthy tortilla chip recipe

Greek lamb meatballs recipe and authentic Tzatziki

How to make the best blended coconut milk lattes

Introducing Jetset Christina Prints!

The Best Cocktail Recipes from Around the World

15 of the best wine glasses you need in your life right now

The Perfect White Everyday Shirt
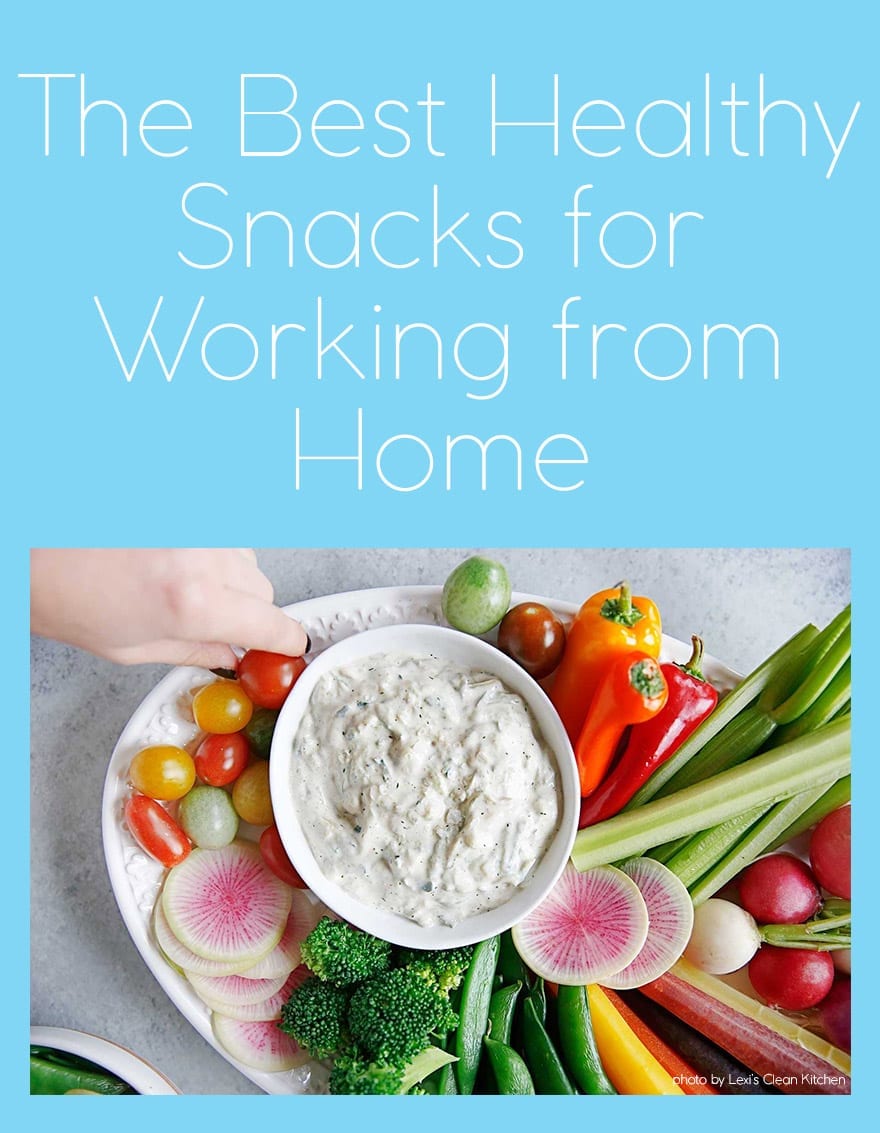
The Best Healthy Snacks for Working from Home


Gigi
Can’t wait to try this recipe! Awesome post!
Pingback: The Best Cauliflower Fried Rice Recipe : Cooking Around the World - JetsetChristina